or a bead board style like this.
Eventually I decided on bead board because I wasn't sure our textured walls would look right behind the board and batten style. Off we went to Lowes and picked up our supplies: One piece of bead board plywood [in the decorative plywood section] and we had it cut in half. Then we grabbed an 8 foot piece of a primed MDF board, some hooks, two pieces [4 ft] of quarter round and caulk. Then, we went to Home Depot because I had researched other tutorials that said the Behr satin enamel paint [and primer in one] was the best for areas that get a lot of use and I had them color match to Valspar's Ocean Storm. I also used painters tape, Zinsser primer [from Walmart], a sanding block, paint roller and brush, nail gun, level, pencil and Spackle.
The first step was to hang the bead board. We started by hanging the side that didn't need any cuts, the left side. first, we marked the studs on the wall with pencil then used our nail gun to nail it in.
Next, we [and I mean Zack] cut out the outlet by measuring where the center of it fell, drawing it onto the bead board, then drilling 4 holes [one in each corner] and using the jigsaw to cut it out.
We then nailed up the second piece and screwed the outlet back into place.
Then, we measured the wall and cut the MDF to fit, leveled it and nailed it into the studs.
Almost done!
After that, I went ahead and spackled the holes and caulked the large "crack" where the two pieces of bead board met and where the MDF met the bead board.
The next day, after everything had dried, I sanded it all smooth with my sanding block [220 grit] and wiped it down with a wet cloth then taped everything off for paint.
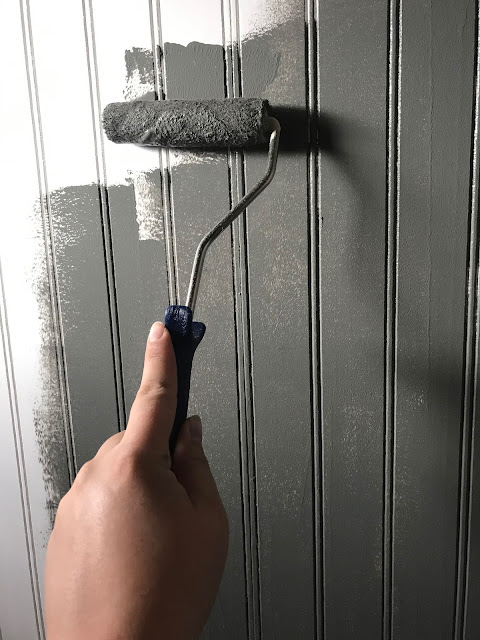
After that it was time to paint. I first cut in using my brush and I used 2 rollers for the larger areas: a nap roller and a foam roller. I did the first coat with the nap roller to really get into the crevasses of the bead board that the foam roller just couldn't reach.
After the first coat dried I rolled the second coat with the foam roller then went back over any crevasses that got missed with a brush. Then I removed the tape and let it dry.
The final step was to add the quarter round, [which I had painted separately and let dry] I just used hot glue to attach it to the wall. And after screwing the hooks into the studs and adding some amazing art [click here to shop] it was all done!
What a transformation huh?
---Jackie


No comments:
Post a Comment