Wednesday, May 24, 2017

The Loft

When Zack and I first looked at this house there were two other houses on the same street that were also in the final stages of building that our realtor thought we should see. First, we saw the one across the street, it had a 4th bedroom just off the garage, [which I thought was nice separation for guests] but otherwise had a weird layout and seemed closed off and small. Then we saw another one, it was almost the same layout as the one before but didn't have the 4th bedroom, so it was even smaller. Then, we saw our house. I thought it was nice but wasn't sold. Then, we walked upstairs and we saw the loft and the two master bedroom walk in closets. I felt like it was perfect. I could turn one closet into my office and we could use the loft as another living space. We also realized it had great potential to make us money in the long run because we could turn it into a legal 4th bedroom quite easily before we sold it down the line.


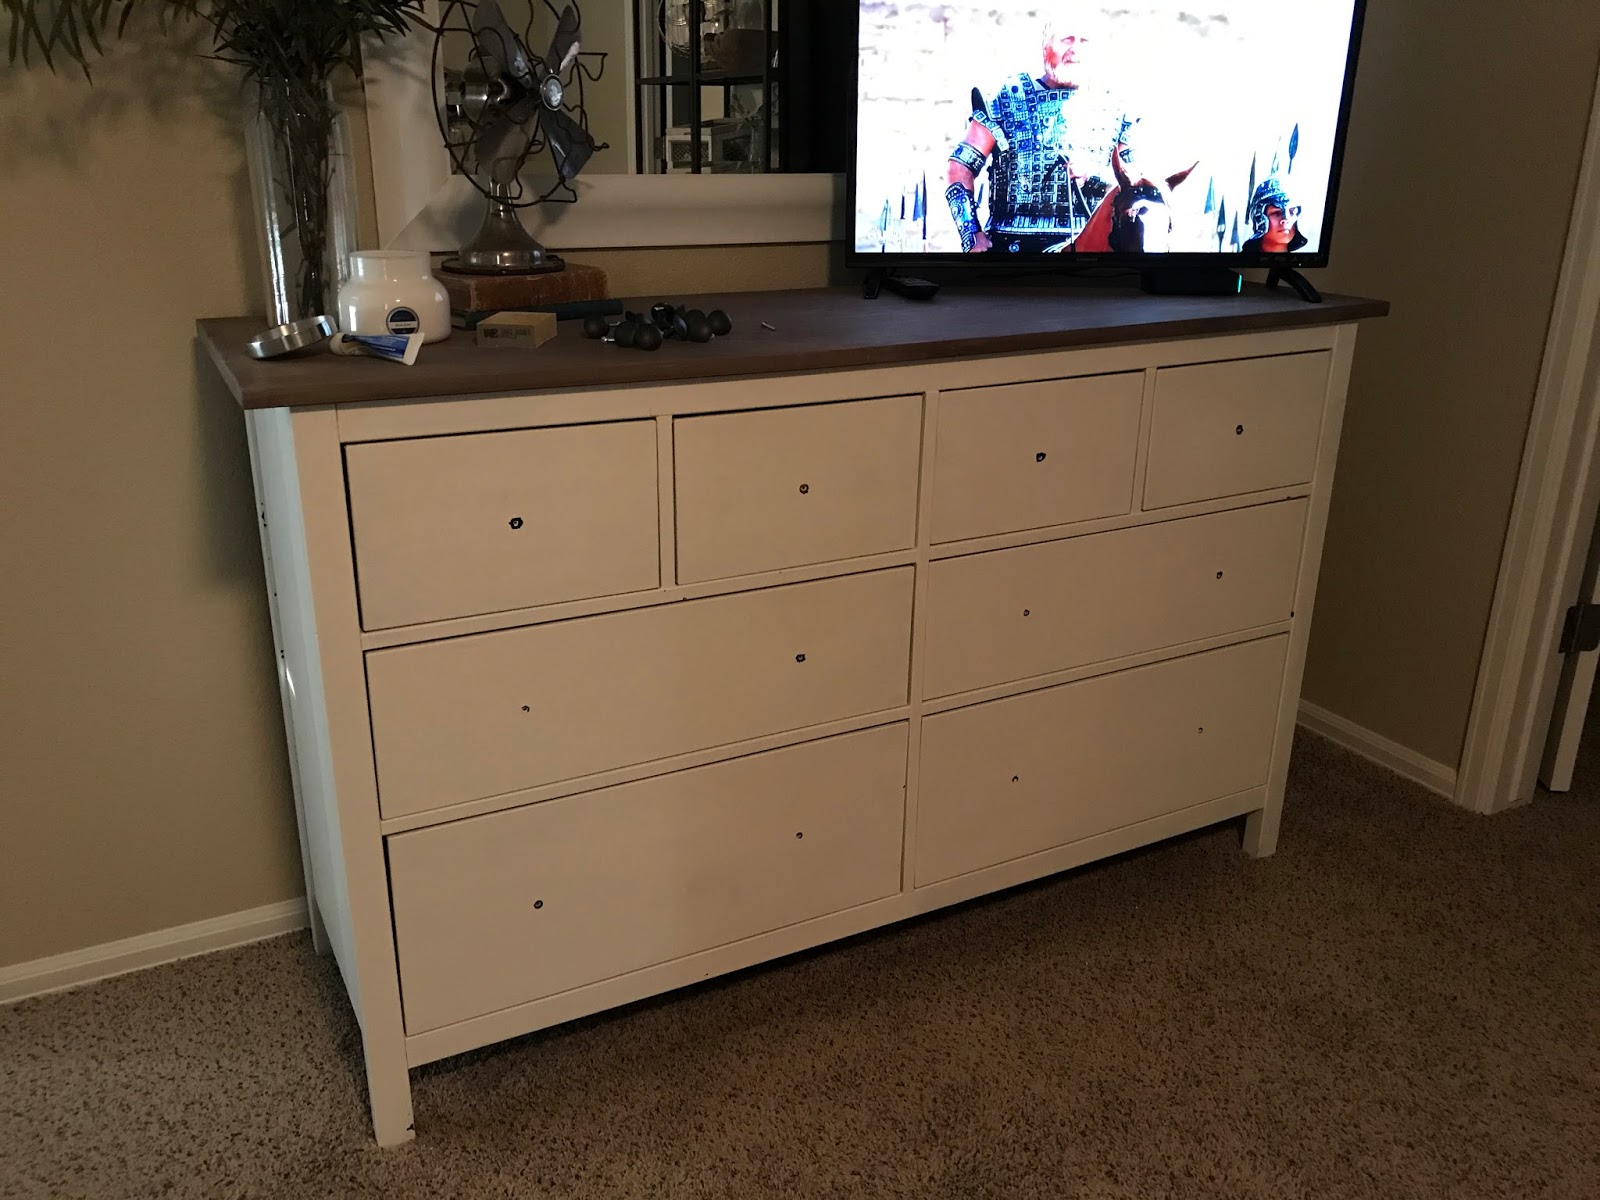
Now, almost three months later, we haven't done jack diddly squat with it. Literally, I hung some curtains set up our old console table and TV and some random deocr and didn't touch it again...until now. 


A few weeks ago I was searching around for rugs [I'm not 100% in love with the living room rug] and came across this one on Overstock.com. It was love at first site. 


First, its plaid. Second, its an outdoor rug, and if you vacuum as much as I do you can understand why I love that fact. I didn't pull the trigger right away because I wasn't sure what kind of sofa and accessories I was gonna use and I didn't want to buy a rug that I couldn't decorate around, so I needed to first create a plan. Here's what I came up with.

As soon as it came together I was like "YES, let's order it!" and I went back to Overstock and what do you know? It was on SALE! I legit paid $110 for this amazing 9x6 rug. Love when that happens. Shipping was fast and the day it arrived I couldn't wait to get it upstairs. 


Now I had to get the sofa. It was dramatic. I tried, and failed a couple times with people on Craigslist and Facebook marketplace but everyone flaked. I decided maybe I should just get new but I really wanted something with natural wear to give it that rustic character. Alas, I got bored the other night and started searching FB MP and up popped this beaut. 


Ahhh just what I was looking for and bang on budget at $150. The guy was super sketchy but he delivered it for free and I didn't get kidnapped, so that's a plus. I cleaned it up with a wet rag then wiped on some Weimans leather cleaner to soften it up a bit. So pretty.


Zack helped me get it upstairs and I got to work decorating. I wasn't really happy with the junk Id thrown in there previously so I took it down and added other items from my stash like those grey studded pillow covers from Hobby Lobby and a DIYed faux cowhide lumbar pillow. I ordered a throw blanket and an ottoman from Target, this print from Etsy [printed in a 24x36 at Walgreens with print40 coupon] that I threw into this [can't find the exact one online but its th 24x36 WITH glass in the wall frame section] awesome barn wood frame from Hobby Lobby [50% off] and added some finishing touches. 


We are in love with the space now. It's nice that Zack came come up here and play his video games and watch his shows and I can be down stairs watching what I want to or vice versa, so its's been really great to have it finished. Any spaces that took you a while to figure out that you now love? 

---Jackie 

Tuesday, May 16, 2017

Minor Kitchen Update

I have been staring at this window since we moved in, trying to figure out how to make it more appealing.

I had a little valance over the window in the rental, but it just didn't seem like I'd fit this house.


A while back I ordered a pair of buffalo check curtains from Walmart [same ones in the guest room] but I wasn't thinking and ordered them in a 63" and they were way too short. Ugh. i hate returning things I figured I'd hold on to them, [actually I had intended to return them and had them in the trunk of my car since February but kept forgetting] and then I remembered this photo from Nikki_grandy on Instagram [she's my favvvvvv] and I knew what I wanted to do.


Basically I just cut the fabric to fit in the window, wrapped the edges and hot glued them [I cannot sew to save my life] to the back for a cleaner look and hung the curtain with a tension rod. Then, I couldn't decide between white or black ribbon to tie it up. I tried both.


Decided white was too stark and girly so I went with black. Just made a loop over the top of the rod and tied a bow at the bottom. After a little pulling, tucking and stretching this is what she ended up looking like.


I'm pretty happy with the results, of course it would look a million times better in a white or black kitchen butttttt.... oh well. Someday!

xoxo,
Jackie

Saturday, May 6, 2017

DIY Sofa Table

A few weeks ago I went junkin' with a friend and came across these awesome balusters [stair rail pieces] for just $4.00 a piece.


I have been looking for some inspiration for the back of my sofa since it seemed to be such a bland view from the kitchen.


I have always loved the look of Restoration Hardware's sofa tables like this one...


So when I found these balusters I knew that I wanted to make one myself. Honestly, this was the easiest project we have possibly ever done. No seriously. If you have a miter saw and a nail gun you can do this in 20 minutes. [Its still possible to do without those tools but man they make the process so much faster.]

Anyways, I grabbed six of the balusters and two 1x12x6 boards from Lowes [in the isle with the decorative plywood, usually the next isle from the trim and moldings] and we went to town. *


*I always try to find pieces with lots of knots and holes, for added character*

First, we cut all the balusters the same length. Some had holes where they used to be nailed in so we wanted to cut all that off and start with fresh pieces of wood for stability reasons. After that, we laid what would be the TOP piece face down on the ground. Then, we set the balusters up in the corners and added a dab of wood glue to the bottoms.


After that, we put what will be the BOTTOM piece on top of the balusters and nailed them in from the top.


Flipped the board over, added a dab of glue on the other side of the balusters and put the TOP back on and nailed those in from the top too.


Next, we measured 36" on both sides of the top and bottom pieces so that we knew where the last two balusters would go.


We added a dab of glue by the lines we marked and placed the balusters in and nailed them in from the top, flipped the piece back over and nailed them into the bottom.


I realized at this point the table sat just a little too low for my liking so I took some scrap 1x3 we had laying around and cut them to fit along the bottom of the table for added height. Zack nailed them in from the bottom.


After that I flipped it right side up and went over the corners with 80 grit sandpaper on my mouse sander to round them out. I wanted the entire piece to look old and sharp corners just don't work for that look.


Now came the fun part: staining. I stained this piece the exact same way I stain everything else in my house, if you want a tutorial on how to get this finish check out this post.


Here she is all stained and ready for decor.


I had some difficulty decorating this piece and I'm not 100% sure I love the way it looks right now so things might get changed soon, but this is how its looking today.


---Jackie

Master Bedroom Updates

I feel like I've redone our master bedroom so many times. I cant seem to get it to a point that is me. Lately though, I've made a few changes and I'm starting to feel like its getting there. First things first, I knew I wanted to paint the dresser. I was getting sick of the white and needed a change.


I grabbed a quart of my favorite color from Lowes, Valspar Ocean Storm, added about 1/4 cup of Plaster of Paris to the can and shook it up. Next I taped off the drawers and threw some plastic under the legs.


Then I went to town. I painted two coats in all. Here it is after one coat.


Then the second coat.

After that I removed the drawers to get into all the crevasses.


After that dried I put it all back together and waxed the piece using Minwax Finishing Wax.


Basically, you want to put a generous amount of wax onto a clean cloth and rub it all over the piece. I made especially sure I go over the hardware holes well so that they don't peel when I put the hardware back on.


After I applied the wax I let it dry overnight before putting the handles back on. I am so happy with the outcome. It darkens the room a bit (which is what I was hoping for) but doesn't seem like a clunky piece that doesn't belong.


The other major change i made was our duvet. I loved our plaid duvet we had for a while but it was a flannel material and it showed the dogs hair so bad, plus, it pilled super bad every time I washed it and was super warm, which doesn't work for Zack and I, (people who keep the A/C on all year round.) Needless to say it had to go. I did look for another plaid one in a lighter material but couldn't find anything. As I was searching I came across this photo*


*I cannot find the original source for the photo but its the Ralph Lauren Winter Rose collection thats been discontinued.*

and fell in love with the idea of a light floral pattern mixed with plaid. Instantly I knew that I wanted to go with the Alvine Kvist from Ikea. Its white, so great for our dogs, and it was a light material that was easily washable.


The last change I made was to remove the old DIY rustic sign I made a while back and I added a cute cattle breed gallery wall instead using cheap Ikea frames and pictures I found online. *


*I searched cattle breed drawings and it came up with a bunch that I printed on normal paper and threw into the frames*

Its amazing how just 3 small changes made such a difference in the overall feel of the space.


I'm still debating whether or not I should change the rug or just re-cover the bench so its not so matchy-matchy. Any thoughts?

--Jackie