
I really like it and if you do too here's how I did it...
Supplies:
1- 1"x16"x 36" board
3- 1"x2"x4" boards
saw [i used a jigsaw]
screws
drill [or you could use a nail gun if you have one]
stain
old washcloth
white paint
gloves
paint pen [or chalk marker]
pencil or pen
printed quote
2 saw tooth hangers

the first thing I did was to cut the two side pieces. I laid the 1x2x4 against the side of the 1x16x36 and marked where it met the edge and cut it with my jigsaw.


Then I placed both side pieces down and placed another 1x2x4 across the top and marked where it met the edge of the other 1x2 and cut that with my jigsaw. Repeat on the bottom until you have all four pieces cut like so.


Next, I attached the 1x2s with screws on the edges and 1 in the center [2 in the center of the top and bottom] and it should look something like this when its all attached...

Now you can stain! I wear gloves and use and old washcloth for this part but you can use a mens sock or really what ever works for you. I chose Minwax English Chestnut for this project and just put on one coat and then wiped away immediately.


I always whitewash my wood so that it looks more weathered and rustic but if you dont want to just skip this step. To whitewash, mix 2 tblsp white paint [whatever you have] with 1/4c water. I use the same washcloth I used to stain and dip it right into the paint/water and rub it into the wood. It creates a hazy effect that I love.


When it dries it will look something like this...

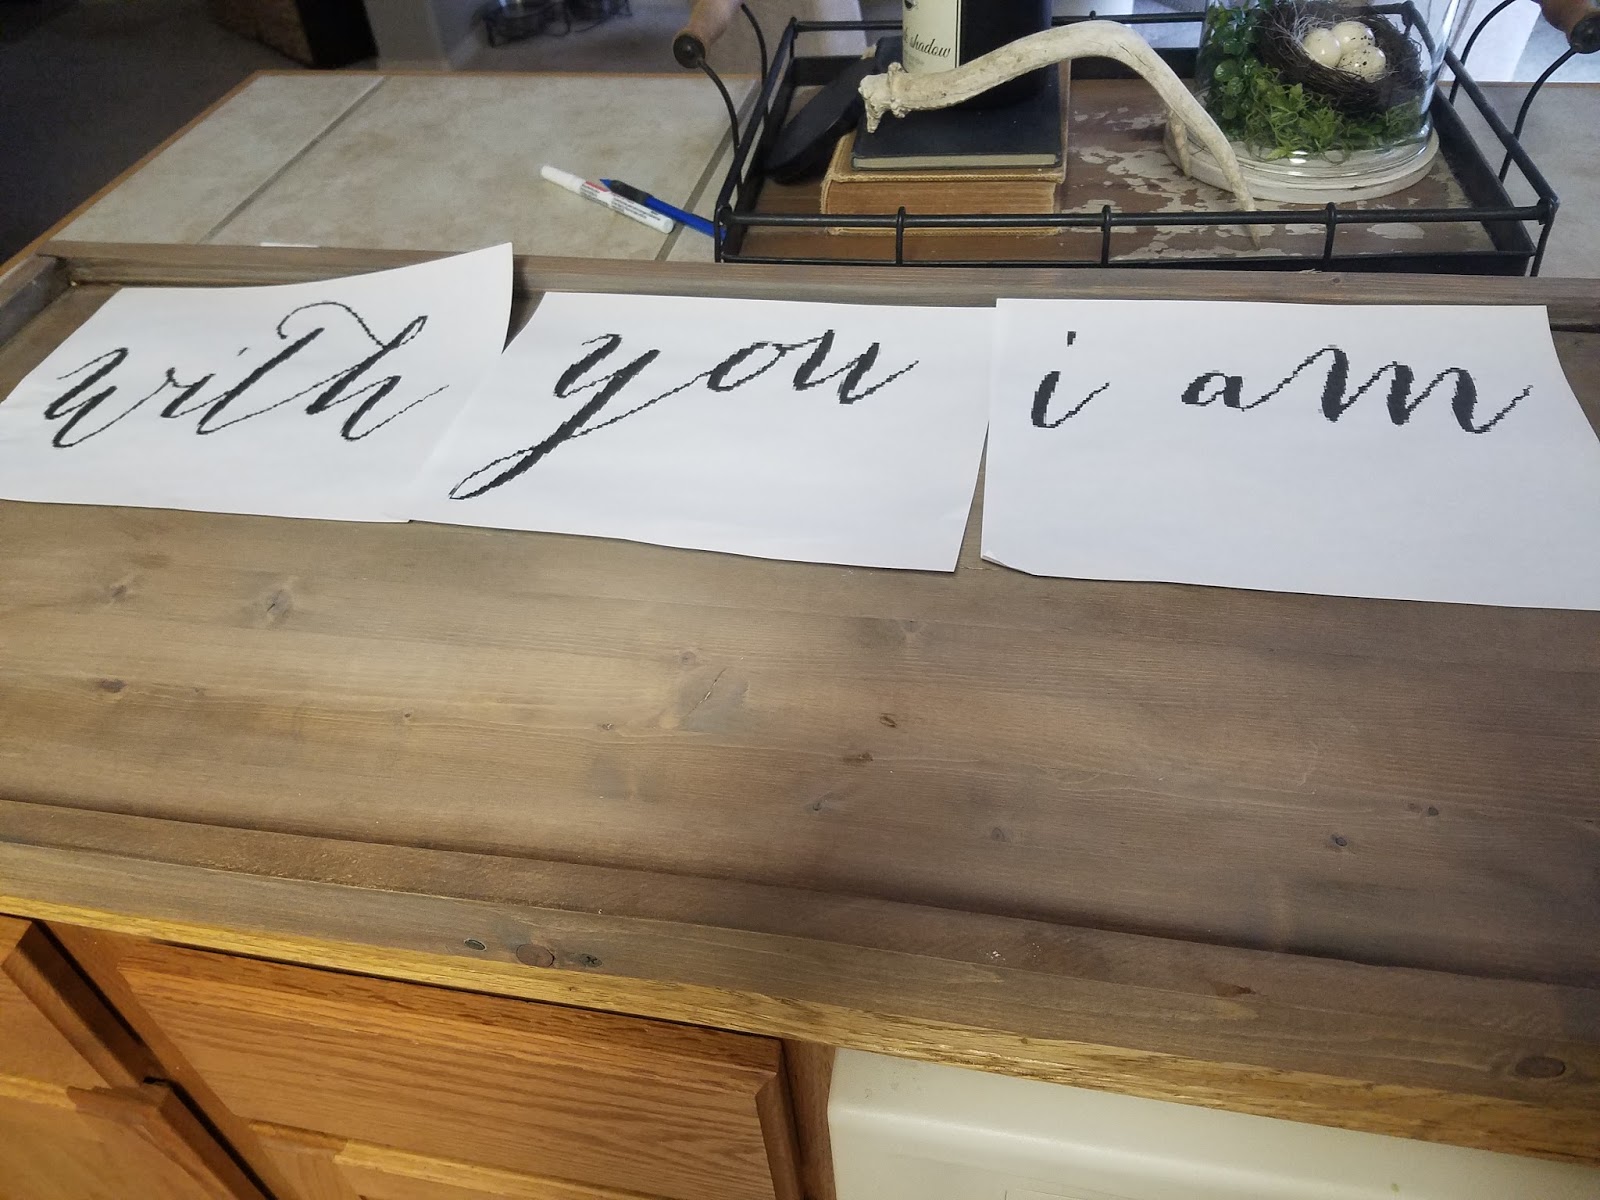
Trim it and tape it into place.

Now, take a pencil or pen and trace the quote pushing down hard to create and indent in the wood. It should look like this.


*I had issues here as my paint markers werent showing up at ALL, so I grabbed my chalk marker and it worked beautifully, or you could use a sharpie if you wanted to*


Add the saw tooth hangers to the back and Viola! You're done! I added the galvanized letters to mine but you could paint the entire quote if you wanted. Thanks for following along!

xoxo,
Jackie
No comments:
Post a Comment