To start, we cut a piece of 3/4" MDF into a U shape [this is your main mantle piece]. Then we cut a smaller U shape to fit behind it [this is where the tile will go, essentially, the front of your firebox]. Then we used wood glue and finishing nails to hold them together.

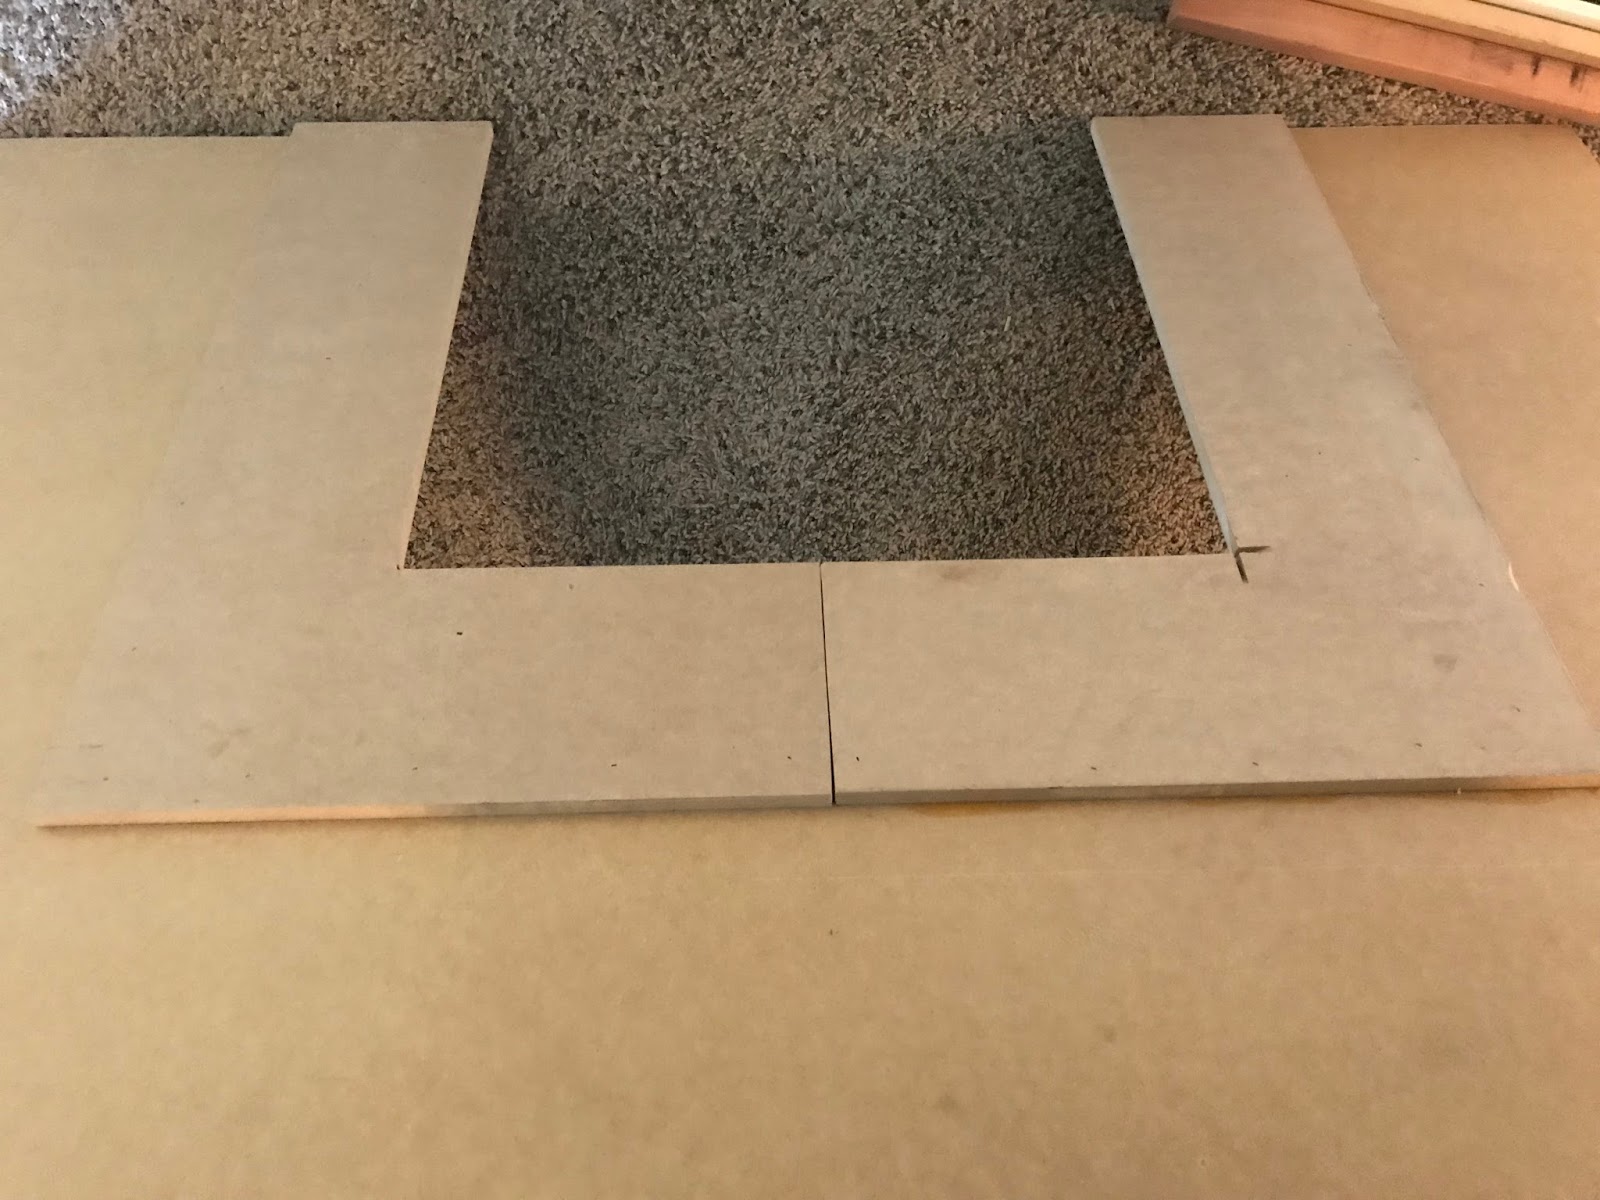 |
| Our second U shape was actually two L shapes to make better use of the MDF sheet |
Next we built the base, its just 2x6 pine cut and nailed into a rectangle [we did add 2 support cuts in the center] with a piece of plywood nailed on top. We also cut our baseboard so that it fit snugly against the wall.
 |
| leave room for your new baseboard |
Then, we added the braces on the wall, we had planned to use the 2x2 [like on the right side] but the left side didnt have a stud close enough so we used a2x6 scrap piece instead and screwed those into the studs.

Next step was to add the "tile". These are peel and stick faux carrera marble tiles from Home Depot. They are super cheap and SOO pretty. We cut them to fit the hearth and then glued them down with liquid nails. We placed a heavy piece of wood on top of them and let it dry over night.


Moving on from there, we nailed in the side piece of MDF into the braces. These are just cut to fit our specific sizing for height and depth, so I won't be sharing our specific cuts.


Once those were attached we nailed the front piece on them. Almost there!
 |
| we placed the top on just to see how it looked |

We attached each piece to the front of the fireplace with liquid nails and the nail gun. Then It looked like this....


 |
| inside view, you can see how the beadboard slides in behind the top board but leaves a 2" gap behind it for the cords |
 |
| front view |
Its done! Well, sort of. But, this is the fun part because now we get to add trim and make it pretty! Originally, I couldn't decide if i wanted it to look like this...
 |
| source |
or like this...
 |
| source |
In the end we went with the first style because we feel it fits our home a little better. We used pieces [2, 4" and 6"] of primed MDF and baseboard molding to create the look.
First, we attached a 4" piece to the top [the "crown" will go on top of this to make it look chunkier] and the bottom as a "baseboard". After that, we added the 2" horizontal piece to start creating the boxes.


the vertical pieces went on next


after that we ran a piece of 6" MDF along the base and added baseboard on top of it.


Then we added our "crown" [baseboard we are using as crown].

Once all the trim was added it was time to paint! I patched, sanded and caulked all the holes/imperfections first,

taped it off and painted two coats of Valspar Ocean Storm [color matched to Behr Premium Ultra enamel paint from HD]


and placed the mantle [1x12 stained the same as I always do, click here for the tutorial] with a 1x2 frame around it [to make it chunkier] on the top.


The absolute final piece of the puzzle was to add the faux mosaic tile, you read that right, its faux tile! We found these tiles in the peel and stick section at HD. At $9.99 a piece they are not cheap, but they are so worth it! We cut them to fit with a box cutter and just stuck them right on!

Look at this beauty now!


Doesn't it look like it was always meant to be here?


It was a labor of love for sure, it took us several days over the course of 2 weeks to complete, lots of swear words and mess ups but in the end its exactly what I pictured. Now I just need to decide if I want to paint the shiplap grey too. Decisions decisions!
---Jackie
No comments:
Post a Comment