Thursday, August 17, 2017

Half Bath Mini Makeover

I have said it before and I'll say it again, there is absolutely nothing wrong with this house. I keep making over spaces not because they aren't good but because they aren't me. Such is the case with our half bath.

It's okay... if you like builder grade mirrors and floors and counters and cabinets. I do not. I want to eventually paint all the cabinets in this house, maybe, someday, but I have heard horror stories about people painting their cabinets only to have them chip and peel in a matter of weeks! I was afraid. After talking to my very best friend, Abby, about her vision to paint her cabinets green [yes, I will absolutely show it off on here if she does it!] I realized I just needed to do it the right way. So all you people out there that love no prep, no sanding, easy peasy stuff, this is not for you. I wanted to make sure this stuff adhered the best way possible and chalk paint just was not that. Sorry guys. I can't jump on that train.

My research found that 1. you have to prep correctly with cleaning, sanding and priming and 2. you should always use an enamel paint because it dries rock solid and won't scratch. There were a lot of recommendations for Behr Premium Plus Ultra paint and primer interior satin enamel [what a mouthful]. Only issue was that I LOVE Valspar Ocean Storm, which is only sold at Lowes, so I took in a swatch and the awesome [bearded] man mixed it up for me. Seriously, his beard was glorious, and the paint turned out a perfect match.


Moving on, to prep the cabinets I removed the doors and drawers, cleaned everything with a TSP mixture and then sanded everything with my Mouse sander and 120 grit paper until the sheen was removed.

Next, I painted two coats of Zinsser primer [from Walmart] this stuff was also highly recommended because it will stick to anything!


Then, I rolled on two coats of the paint with a foam roller [using a brush to get into the corners].


After that I added some cup pulls and knobs [in black] from Lowes and put it all back together.
this is a very accurate depiction of the color "Ocean Storm"

Once the cabinet was looking all modern and amazing, the mirror stood out like a sore thumb. I found this tutorial online about how to make a cheap and non permanent frame for a builder grade mirror, seemed easy enough so I got to work. I picked up 3 pieces of 1x4 and cut them to fit mitering the corners to 45 degrees. Then, I stained all the pieces [same way I stain everything in my house, click here for the tutorial] and screwed them together with L brackets that I spray painted black. [I left the screw heads silver because I like the mix of the metals.]


Once the frame was assembled I added command strips [that hold up to 16 lbs] to the back of the frame. I peeled off the backing and carefully placed the frame on the mirror where I wanted it before pressing firmly to attach the command strip to the mirror.


Now here she is ....


So far its all holding up well and not a single scratch on the cabinets. Even Zack was impressed. Someday, I will update those floors, counters, light, sink and faucet but its a great mini makeover for now!


Any mini makeovers you've done lately that made a world of difference?

---Jackie

Wednesday, August 16, 2017

Entryway Makeover

Since we first walked into this house to tour it I had envisioned a cute little entryway with hooks for coats and handbags, it took us a while to get around to it but we finally did! At first I wasn't sure if I wanted a more board and batten look, like this


or a bead board style like this.


Eventually I decided on bead board because I wasn't sure our textured walls would look right behind the board and batten style. Off we went to Lowes and picked up our supplies: One piece of bead board plywood [in the decorative plywood section] and we had it cut in half. Then we grabbed an 8 foot piece of a primed MDF board, some hooks, two pieces [4 ft] of quarter round and caulk. Then, we went to Home Depot because I had researched other tutorials that said the Behr satin enamel paint [and primer in one]  was the best for areas that get a lot of use and I had them color match to Valspar's Ocean Storm. I also used painters tape, Zinsser primer [from Walmart], a sanding block, paint roller and brush, nail gun, level, pencil and Spackle.


The first step was to hang the bead board. We started by hanging the side that didn't need any cuts, the left side. first, we marked the studs on the wall with pencil then used our nail gun to nail it in.


Next, we [and I mean Zack] cut out the outlet by measuring where the center of it fell, drawing it onto the bead board, then drilling 4 holes [one in each corner] and using the jigsaw to cut it out.


We then nailed up the second piece and screwed the outlet back into place.


Then, we measured the wall and cut the MDF to fit, leveled it and nailed it into the studs.


Almost done!


After that, I went ahead and spackled the holes and caulked the large "crack" where the two pieces of bead board met and where the MDF met the bead board.


The next day, after everything had dried, I sanded it all smooth with my sanding block [220 grit] and wiped it down with a wet cloth then taped everything off for paint.


After that it was time to paint. I first cut in using my brush and I used 2 rollers for the larger areas: a nap roller and a foam roller. I did the first coat with the nap roller to really get into the crevasses of the bead board that the foam roller just couldn't reach.


After the first coat dried I rolled the second coat with the foam roller then went back over any crevasses that got missed with a brush. Then I removed the tape and let it dry.


The final step was to add the quarter round, [which I had painted separately and let dry] I just used hot glue to attach it to the wall. And after screwing the hooks into the studs and adding some amazing art [click here to shop] it was all done!


What a transformation huh?


---Jackie 

Thursday, July 27, 2017

Living room: Reveal-ish

Okay people. Here's the thing. I am all over the place lately, like literally everywhere and I can't seem to complete one full project before we get crazy busy doing something else. The thing is, we are getting ready to head out on vacation and I didn't want to leave without showing you all the progress we've made in the living room. The problem? We didn't do anything to the fireplace yet. I know, I know, I should probably just wait until its ALL complete before I call it a reveal but that's why I'm calling it a reveal-ish. Get it? Okay cool, glad you're on board. Now on to the reveal-ish... If you remember, all we were doing to this space was the fireplace, the rug and adding a chair right? Well, like I said, the fireplace didn't get done, but we did get the chair and the rug in! Of course once you change one thing it seems like five more things have to change to get that vision you really want right? Only me? Hope not. Well that kinda happened in this space. Before we get to all that lets take a look at the befores, here is what it looked like when we first got the keys:


After we moved our furniture in:


and after we added the sofa table, which is where we left off in the last post about the living room:


I had planned arrange the furniture like this and call it good, but once everything was in place it felt so weird and unbalanced. It didn't look right at all.

the right side is completely bare while the left side is full

So, I moved the bookcase to the right side of the fireplace, the floor lamp to the right of the chair and added a cute garden stool [from At Home $34.99] on the left with some framed art to really complete the look. Alas it felt the way I wanted it to from the beginning. Here it is now, mostly complete.


so much more balanced! And with a wider, floor to ceiling fireplace, it will look even better


so that's what we are living with [and totally loving] right now. Thanks for sticking with me through all my all-over-the-place-ness, I promise I will get done with the fireplace, eventually. Maybe.

---Jackie


Thursday, July 13, 2017

Living Room Progress: What I Ordered

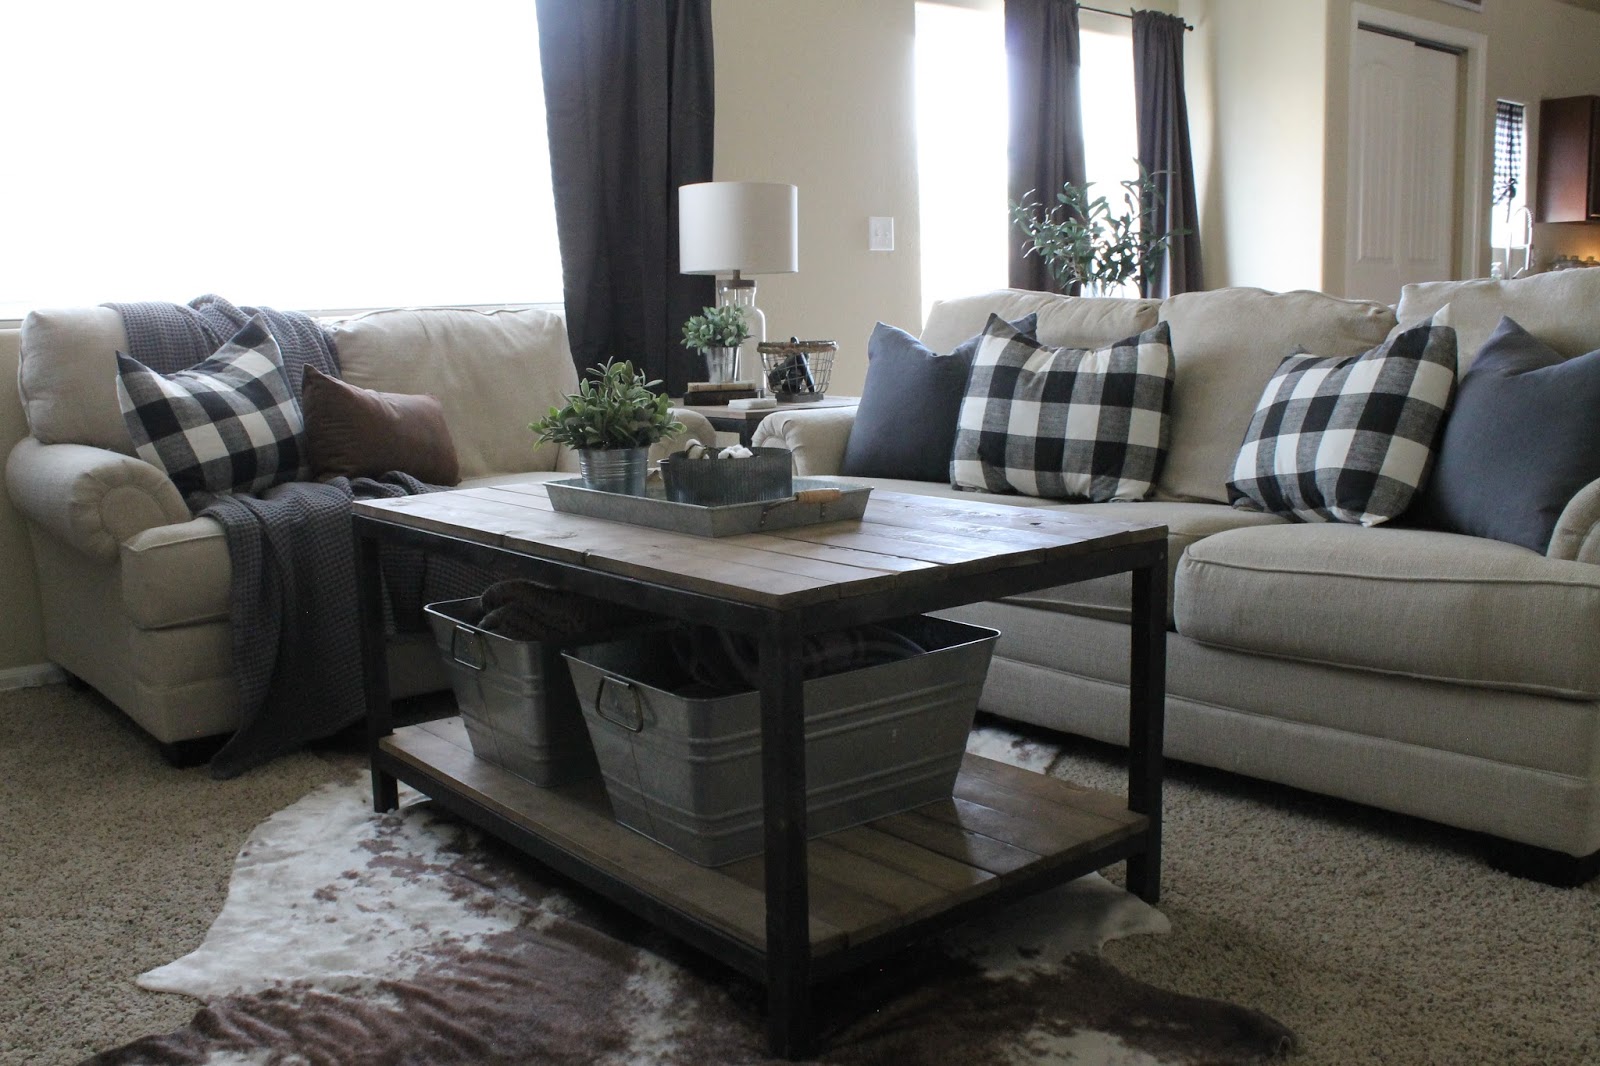
We haven't gotten around to working on the fireplace yet, but I have it all drawn out with measurements and everything so we should be able to get building on that soon, however, we did make some progress since I got all the furniture ordered. I wanted another cowhide rug and was concerned that we would have to buy a real one to get the size we needed, which made me super sad since I love cows, but nope! I actually found a large FAUX cowhide! Woohoo! Check it out...

Ain't she a beaut? I originally planned to purchase it from Overstock but then Rugsusa was having a sale and this one cost me $162 total! Free shipping, no tax whereas the other was $163 plus tax and free shipping and looked more fake.

Next, I wanted this exact chair that I originally found at American Furniture Warehouse for $198,

but when I started searching around online I found that Amazon had the exact same one for $187. It may not seem like a huge difference but with AFW I have to pay tax, plus a $79 delivery charge, with Amazon, I just had to pay tax and got free shipping! In total I spent $201.80 on the chair, score!

These pieces should arrive in the next week or so and hopefully we can get moving on the fireplace by then! Here's to hoping!

--Jackie

Saturday, July 1, 2017

Living Room-The Plan

We have our hands in a couple projects right now, manly the garage but I'm also trying to figure out the living room. Remember a while back when I said I wasn't in love with the living room rug? Well, I'm not. I decided that I wanted to throw a huge cow hide in here [it'll have to be a real one this time because the DIY ones are too small for the space]. Once I decided on the rug it seemed like other things needed to change too to give the living room the feel that upstairs living room and guest room have, that darker more rustic vibe. Basically, I'd like to add a leather chair, build a new fireplace and plank it to the ceiling and move the bookcase to another wall, not too much. To get a visual I changed up my mood board...

but even so, I couldn't really picture how exactly the space was going to come together so I hopped on my laptop last night and searched for a free room design program. I found one and created a quick design and took some pictures of it to show you [and me] what I'm envisioning....


I have to say, its so nice to see how it will actually look all together in the space. It definitely solidified for me that I want to make these changes, so now I'm on the lookout for a bargain cow hide and leather chair, then we'll have to rebuild the fireplace so hopefully in the next month or so we'll be back with a few minor changes a whole new look!

-Jackie