 |
| source |
 |
| source |
So, it took a bit of convincing but I got Zack on board. First, we removed the microwave with the intention of just keeping it and putting it on the counter but once we got it down we realized it was WAY too big and had mounting hardware attached to the top that looked quite unpleasant on the counter. So we sold it and bought something much more manageable.
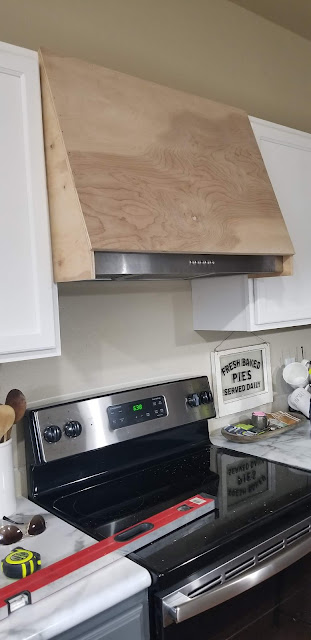
With that part out of the picture we turned our attention to venting. Our stove sits on an exterior wall so it was pretty straightforward: cut a hole in the wall to the exterior, attach a vent, attach the pipe to the vent hoof and attach the vent hood to the cabinet. It took a couple hours and several trips to Home Depot but we got it done.
We decided to do the venting before painting the uppers so as soon as this was over I got to work painting the cabinets and on Zacks next day off we built the frame around the hood. We followed this tutorial almost exactly and honestly, it was the easiest part of the the whole kitchen.
I stained everything with Varathane Briarsmoke, its my new favorite color. So good.
Next, I cut all my trim pieces to fit and stained them before attaching with Liquid Nails and lots of clamps.
Aint she a beaut?! I love how this kitchen has turned out all thats left to do now is tiling the backsplash which, I think, Ill be leaving to a professional. Hopefully soon we can be calling this an "after" instead of an "in progress", for now though, I am enjoying my light, bright kitchen.
---Jackie


No comments:
Post a Comment